What to Expect on Loadout Day
You’ve done the research, placed the order, and counted down the days—now it’s time for Loadout. It’s not just pickup; it’s the final step in the build process and your first step into ownership. From installation and paperwork to a full walkthrough of your camper, we’ll make sure you leave confident, informed, and ready for whatever road lies ahead.
This guide covers what to expect, what to bring, what surprises to avoid, and how to make the most of your time with us.
Arrival: Where to Go and When
All Loadouts begin at 10:00 A.M. at our Winlock, WA facility (unless otherwise arranged). We recommend arriving 5–10 minutes early and parking in the customer lot along the side of the building, accessible just past the office entrance off Old Hwy 603.
When you arrive:
- A team member will greet you and collect your truck keys.
- We’ll walk through what to expect, confirm final paperwork timing, and share nearby food or coffee options if you’d like to step out while we work.
Loadouts typically take 2 to 4 hours, depending on your build complexity and whether tie-downs are being installed.
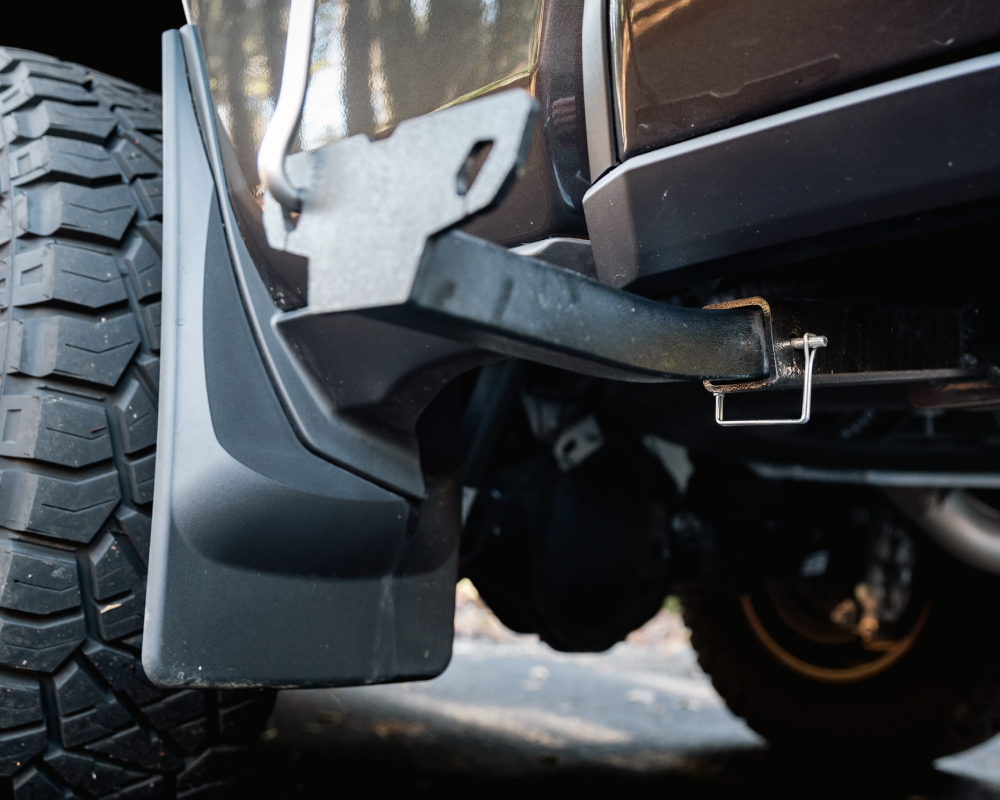
Step 1: Tie-Down Installation (If Ordered)
If your proposal includes frame-mounted tie-downs, this is the first task we’ll complete on Loadout Day. These steel brackets attach directly to your truck’s frame and serve as critical anchor points for securing your camper to the bed. Properly installed tie-downs help prevent shifting, lifting, or stress under braking, bumps, and off-road conditions.
About 70% of Alaskan owners have tie-downs installed during Loadout. The process typically takes 1.5 to 2 hours, depending on your truck model. We install only frame-mounted systems for maximum stability and long-term performance. If tie-downs weren’t included in your proposal, they likely won’t be available on-site—we carry only limited kits due to model-specific requirements.
What are tie-downs?
Frame-mounted tie-downs are one of the most important safety features in any camper setup. These heavy-duty mounts connect your camper directly to your truck’s frame, keeping everything stable on the road. While there are several systems on the market (like Torklift and HappiJac), we install frame-mounted versions exclusively—for maximum strength, durability, and peace of mind on your first drive.
Hardware and torque matter
During installation, our team torques all mounting bolts to the correct spec for strength and safety. You can reference our full Tie-Down Torque Guide to understand the process and check specs down the road.
If you’re bringing your own tie-down system
Let us know in advance. While we can work with most common setups, we’ll need to confirm compatibility before Loadout Day.
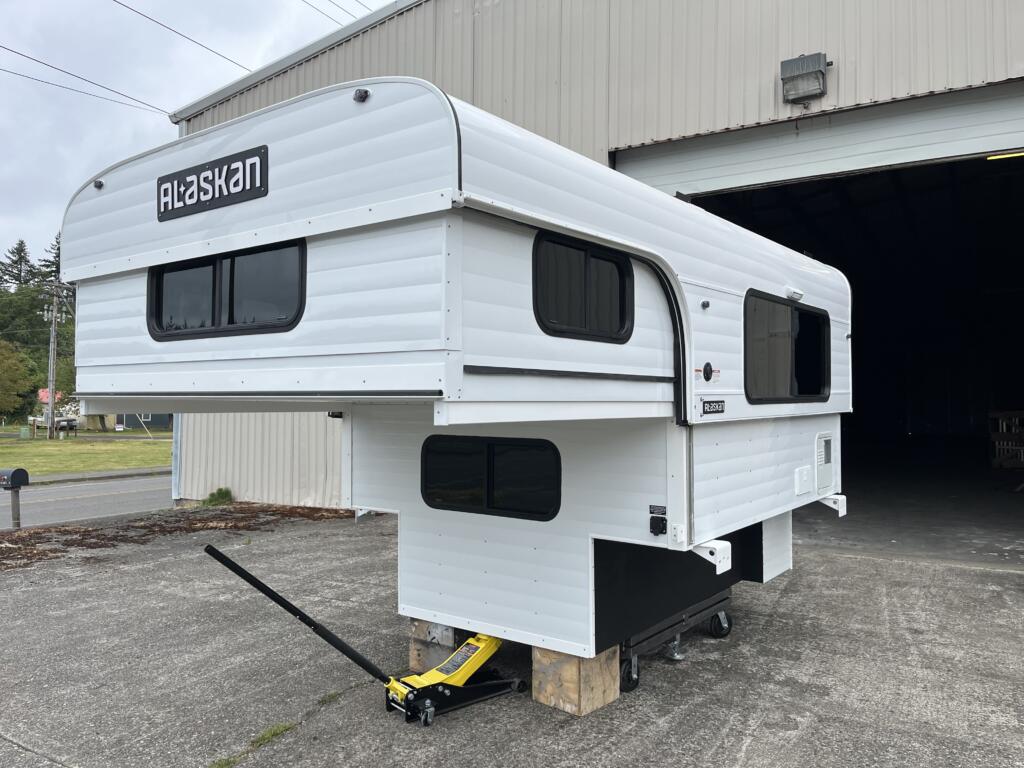
Step 2: Camper Mounting & Setup
Once your tie-downs are installed—or we’ve verified the ones already on your truck—it’s time to mount your camper. Whether you’re picking up a slide-in or a flatbed model, our team handles the full install with precision.
We make sure everything is aligned, leveled, and torqued to spec. Flatbed installs can take a little longer due to bolt-through mounting and platform variations, but we’ve done it all before—and we’ll walk you through every step before you hit the road.
Here’s what we handle:
- Final QC check and torque confirmation
- Camper placement and alignment to your truck
- Secure connection to frame-mounted tie-downs (slide-ins) or bolt-down install to your flatbed platform
- Functional check of core systems: solar, shore power, water, lights
- Walkthrough prep: systems powered on, tanks filled (if applicable), propane connected
By the time we’re done, your camper won’t just be installed—it’ll be ready for its first night out.
Step 3: Final Paperwork & Payment
Once your camper is safely mounted, you’ll sit down with our team to finalize paperwork and complete payment—and you’ll leave with everything you need to feel confident on the road.
Here’s what you can expect:
- Final Payment: Due on or before Loadout Day. We accept check or bank wire for final payment—just confirm your preferred method ahead of time so we can prepare accordingly.
- Financing Options: If you’ve elected to finance through our recommended partner, Elite Recreational Finance, we’ll coordinate final paperwork and ensure everything is aligned for smooth payment processing.
- Documentation Handoff: You will receive a printed copy of your build proposal, clearly outlining every included feature and optional upgrade.
- Warranty Overview:We’ll provide all warranty documentation, including our standard 12-month build warranty—covering workmanship and materials on all new Alaskan Campers.
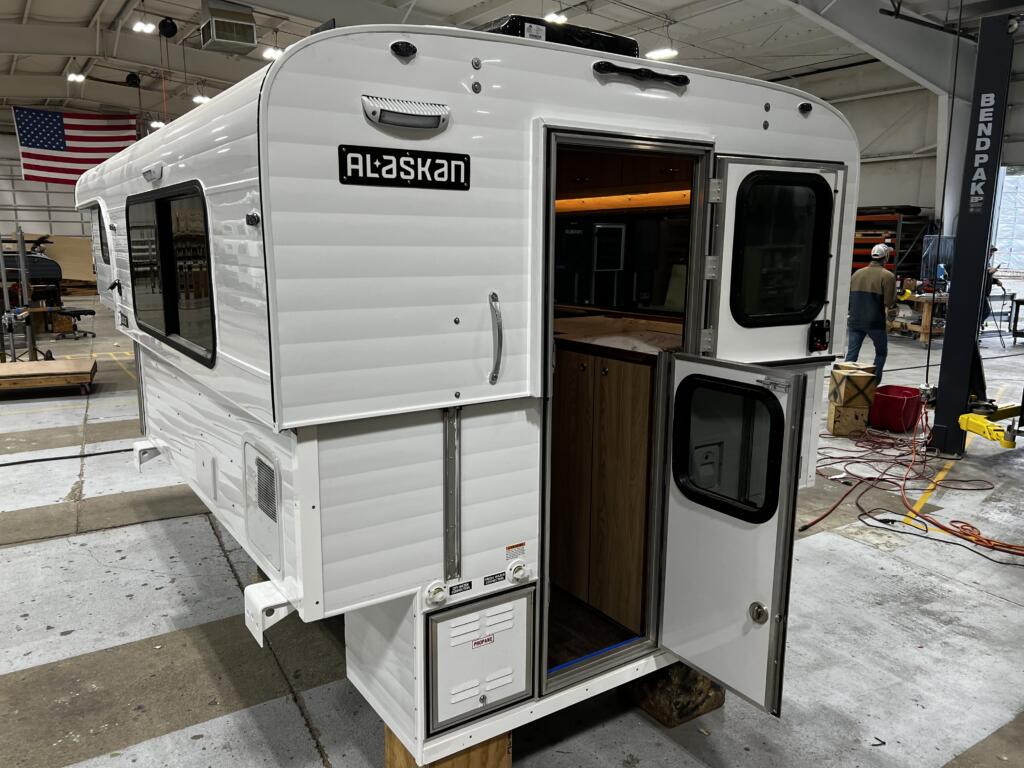
Step 4: Owner Walkthrough & Orientation
Once your camper is mounted, you’ll meet one of our certified technicians for an in-depth walkthrough. This is your time to see how everything works and ask any questions—or test systems hands-on before you drive off.
This process can take anywhere from 15 minutes to over an hour, and either are okay with us. Write down some questions you have ahead of time or feel free to email after. Pro Tip: Take photos or videos during the walkthrough. There’s a lot to process, and notes will help later.
The walkthrough will cover topics like:
- Raising and lowering the roof mechanism
- Power systems (battery setup, inverter, shore power, charging)
- Propane system safety and appliance operation
- Water management (filling, draining, winterizing)
- Interior care and features (storage, cabinetry, venting)
- Camper removal and reinstallation (alignment techniques, jacks, safe storage)
What to Bring With You
Make the most of your Loadout Day by arriving prepared:
✅ Valid photo ID
✅ Final payment (check, bank wire, or credit card)
✅ Any questions or build checklist you’ve made
✅ Empty truck bed (remove mats, liners, tonneau covers)
✅ Snacks or lunch if you plan to stay through the walkthrough
After You Drive Off: What to Expect
Your camper’s loaded, systems are checked, and you’re officially on the road. But questions still come up—and that’s completely normal.
Whether you’re unsure how to toggle the inverter or just need a refresher on winterizing, we’ve got your back. Our Resources Hub is a great place to start, and we’re building a Day One Owner’s Guide to walk you through the essentials step by step.
Once you’re home, there’s one more thing to think about: where—and how—you’re storing your camper.
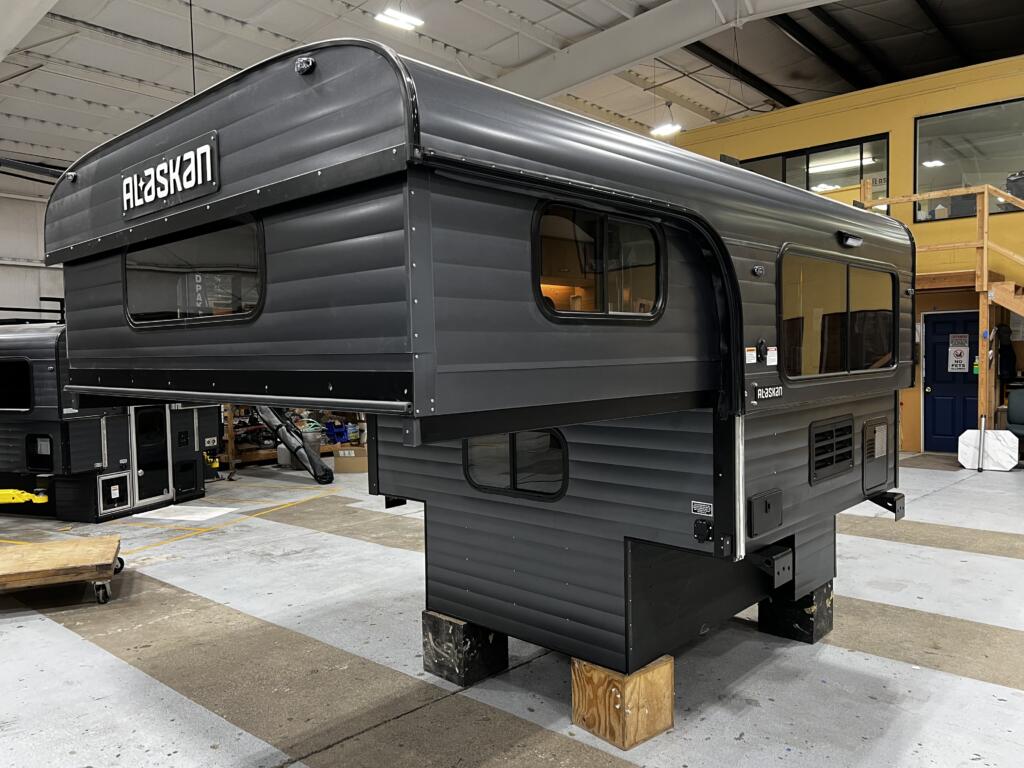
Storage Tips: Protecting Your Camper at Home
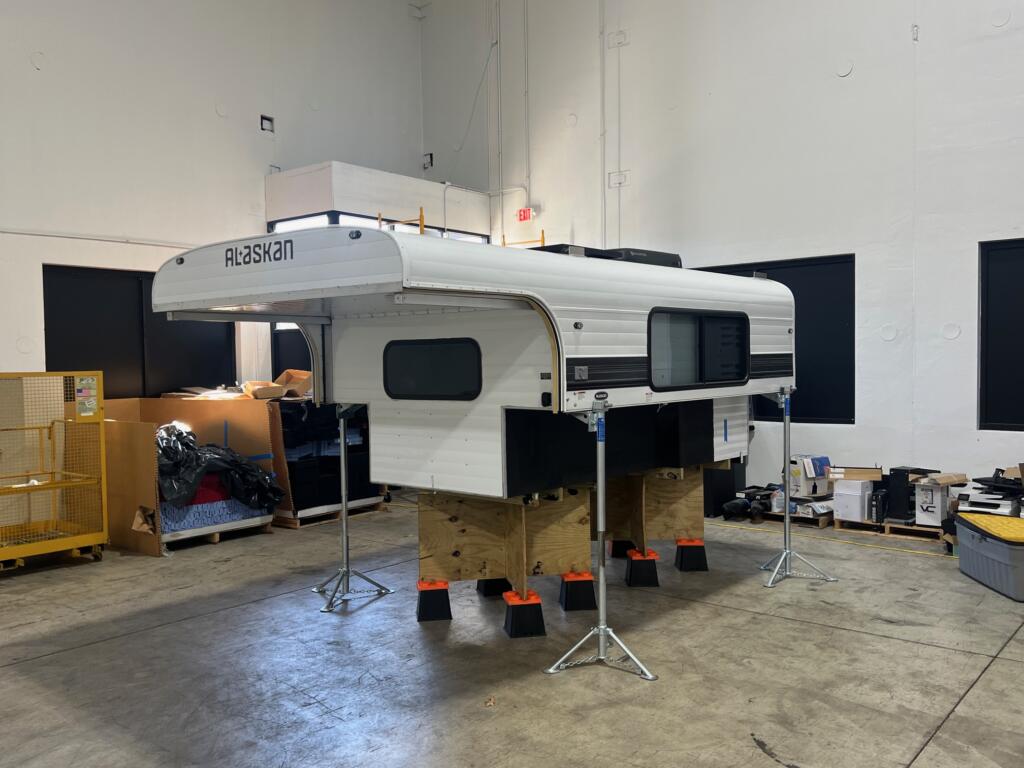
When it’s time to unload and store your Alaskan Camper, keep in mind: these campers are not designed to rest on jack stands alone.
Because of our unique two-piece construction and full-size rear door, storing a camper unsupported at the corners can cause frame stress or even structural issues over time.
✅ Here’s what we recommend instead:
- Use heavy-duty sawhorses with a full-width plywood platform to support the entire base evenly
- Or build a custom pallet designed to cradle the full frame
- Always ensure the camper is resting on a level, stable surface
A proper storage setup protects your camper, keeps doors and seals aligned, and ensures everything is in great shape the next time you load up.
We’re also working on a standardized storage solution—so stay tuned. Until then, feel free to reach out for examples or DIY plans we’ve seen work well from experienced owners.
Loadouts Now Available in Southern California
Most customers pick up their camper at our headquarters in Winlock, WA. We don’t ship campers to partner locations for pickup—but a few trusted partners do sell Alaskan Campers directly and offer full professional Loadouts on-site.
If you’re in California, you’re in luck:
Pop Top Overland (San Diego) and American Camper Shells & Van Works (Stanton) are both experienced truck camper pros and part of our growing showroom network. They stock select Alaskan Campers and provide the same level of hands-on installation and walkthrough we offer in Winlock.
More locations are in the works—so stay tuned.
Final Thoughts
Loadout isn’t just the end of your build—it’s the beginning of the journey. We’ll get you dialed in, questions answered, and ready to roll with confidence.
Welcome to the Alaskan family. Let’s hit the road.